[ad_1]
One doesn’t always have the luxury of sipping tea comfortably while hacking a piece of hardware at a fully-equipped workbench, where every tool is within reach. To address this, [Zokol] shares an early look at a hardware hacking toolkit-in-progress, whose purpose is to make hacking sessions as productive as possible while keeping size and weight within reasonable limits. There isn’t a part list yet, but there are some good tips on creating your own.
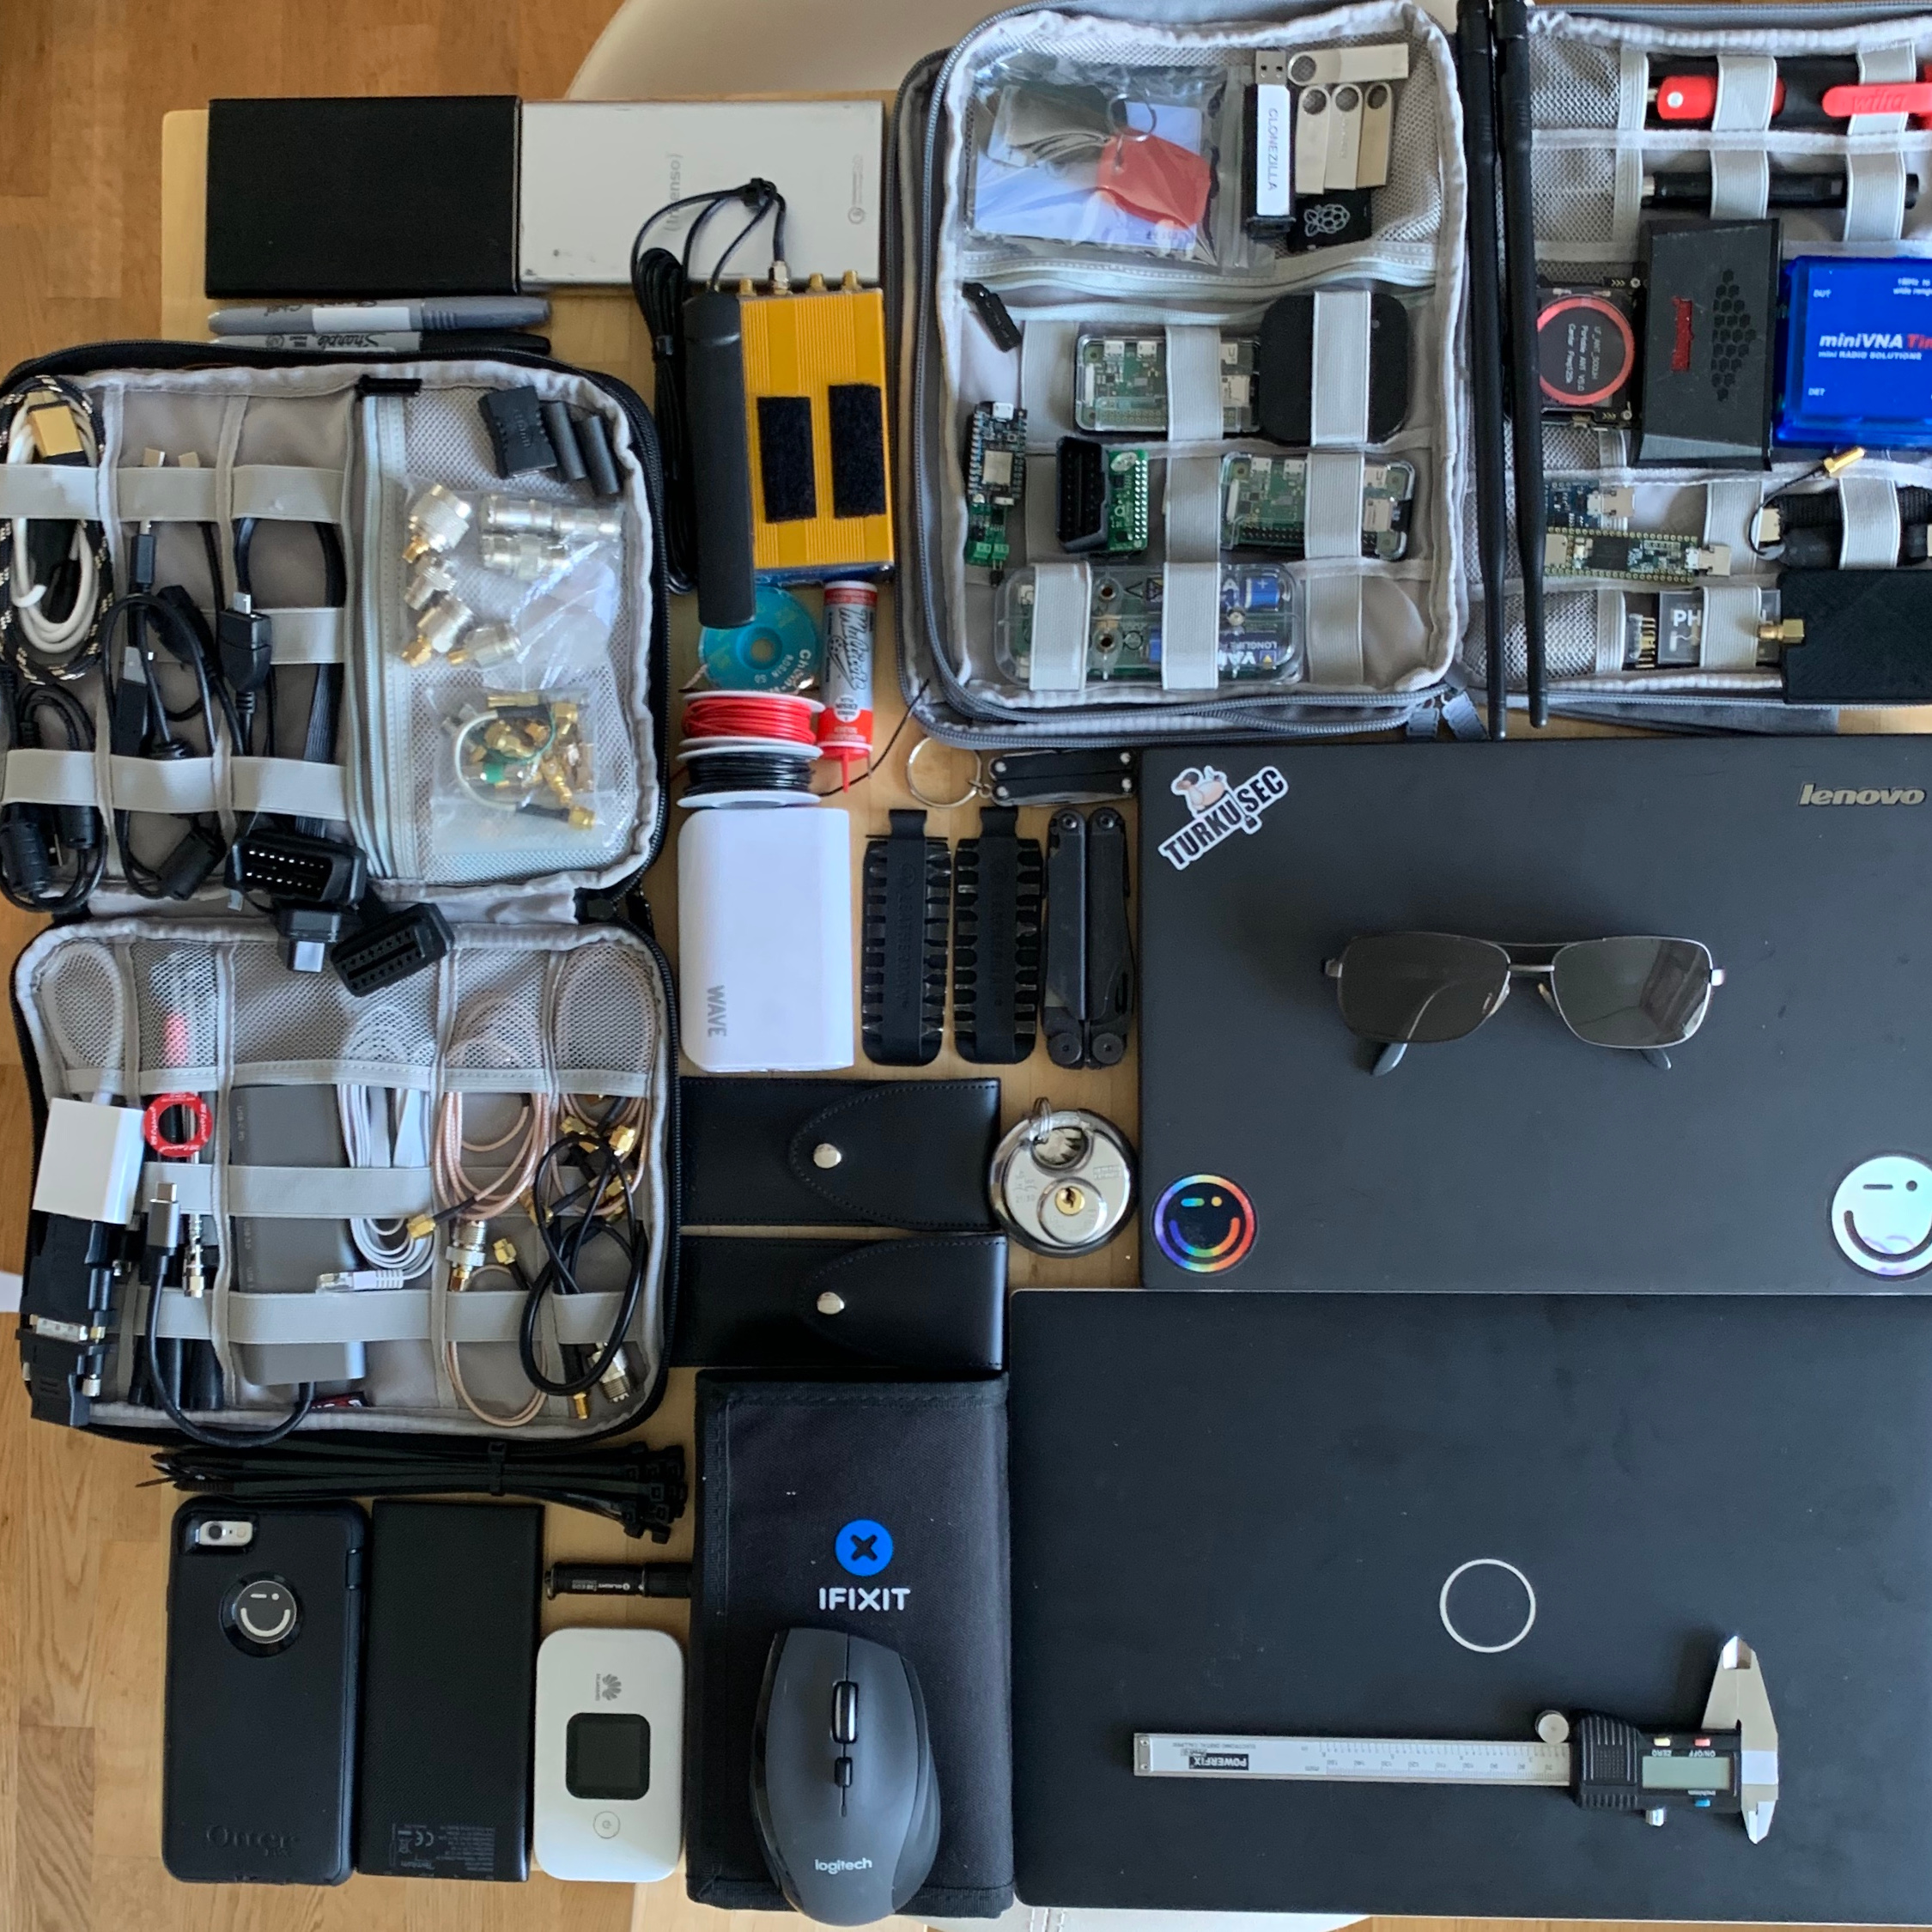
Since hardware hacking is all about inspecting (and possibly modifying the behavior of) electronic devices, [Zokol] observes that step one is always to begin with external interfaces. That means common cables and adapters should all be part of a hardware hacking toolkit, otherwise the session might end awfully early. The next step is to open the device, so common tools and ways to deal with things like adhesives are needed. After that, diagnostic tools like multimeters come into play, with tools becoming more specialized as investigation proceeds. It’s a very sensible way to approach the problem of what to bring (and not bring) in a hardware hacking toolkit, and we can’t wait to see what the final version looks like.
Hardware hacking sometimes involves hardware that can’t be opened without damaging it. The Google Stadia controller is one such piece of hardware, and [Zokol] addressed the problem of how to permanently disable the microphone by figuring out exactly where to drill a hole.
[ad_2]
Source link